Design Thinking in the Kindergarten Classroom
Disclaimer: This blog post may contain affiliate links, meaning if you make a purchase, I may receive a portion of the sale, at no extra cost to you. I only recommend products I absolutely love!

Kindergarteners are curious and creative.
And in my experience teaching, my Kindergarten students often learn best through play and hands-on learning: two core pillars of many early elementary classrooms.
Design Thinking is a great approach to incorporate into Kindergarten projects because of its similarities to the hands-on exploration that already occurs in most rooms.
Despite these parallels, it can be difficult to find concrete ways to embed Design Thinking into curriculum in age-appropriate ways.
In today’s blog post, I’m going to share tips and strategies for implementing Design Thinking into your Kindergarten classroom.
First, we’ll define Design Thinking. Then, I’ll share some tips for getting started with Design Thinking, followed by an in-depth project example. Lastly, I’ll share some additional project ideas to spark some extra inspiration.
What is Design Thinking?
Design Thinking is an iterative, human-centered, problem-solving process that involves five key steps: (1) empathize, (2) define, (3) ideate, (4) prototype, and (5) test.

Design Thinking sparks innovation, encouraging students to explore “wildly radical” ideas.
I don’t want to spend too much time defining “Design Thinking” in this blog post, so if you are looking for a complete breakdown on all 5 stages, you can check out another blog post here.
You can also view all my posts on Design Thinking here.
Getting Started with Design Thinking in Kindergarten
Tip #1: Start Small
My biggest advice for introducing Design Thinking to kindergarteners is to start small.
Instead of introducing all 5 stages to your students at once, consider starting out with just one. For example, I like to focus on the “Prototype” stage with my students. Then, later on in the year, I might expand to focus on “Prototype” and “Test.”
Maybe you will choose to focus on “Empathize” to help your students learn about empathy and compassion. Or, maybe you want your students to practice brainstorming, so you’ll start out with “Ideate.”
Start small.
Tip #2: Incorporate Read Alouds

I almost always incorporate a read aloud when I introduce Design Thinking to my kindergarteners.
There are so many incredible picture books that teach students to analyze problem and solution scenarios. Since Design Thinking is a problem-solving approach, I like to find a picture book to accompany our project.
Students might read a book about a character who encounters a problem and discovers a solution. Then, students will use different materials to build their own solutions, or prototypes, to that same problem.
Later in this blog post, I share a list of picture books that are great for practicing Design Thinking in Kindergarten.
Tip #3: Teach Empathy
One of the main differences between Design Thinking and other problem-solving approaches is that Design Thinking includes empathy.
Empathy is a social emotional skill that can be taught through mindful lessons and activities. As a teacher, you can model empathy through Design Thinking.
For example, I might talk about how a character feels when they encounter a difficult problem in the story. I might identify these emotions by talking about the different facial expressions or words that the character uses.
Even if you choose to focus on the “Prototype” stage, for example, you can still model empathy before diving into your project.
Design Thinking Project Example: STEAM Little Pigs
As I shared earlier, I love using read alouds as a method to teach Design Thinking. In doing so, I’m able to teach students valuable listening and reading skills, alongside problem-solving and critical thinking.
Let’s take a look at an in-depth project example using a story that many of your students are already familiar with… The Three Little Pigs!
Starting with a Read Aloud
I would begin our lesson by having students sit on the rug in our meeting area. I would show them the cover of the book and ask, “Has anyone heard the story of the Three Little Pigs before?”
Students would use one of our classroom systems, like the hand-raising system or our “Me Too” hand signal to let me know if they are familiar with the story.
Then, I might say something like, “There are many different versions of this story written by different authors. Today, we will be reading one book titled The Three Little Pigs illustrated by Giuseppe Di Lernia.”
Please Note: You can use other versions of The Three Little Pigs to teach this same lesson. I also really like this version, where the characters are flipped: The Three Little Wolves and the Big Bad Pig by Eugene Trivizas
As we read the book, I will ask students to make predictions about what will happen. Many students are most likely already familiar with the book, but they still enjoy “guessing” and sharing their ideas.
If you are a STEM teacher, you also might want to ask students questions about different materials. Why does the straw house blow over? Why doesn’t the brick house?
Giving Directions for the Activity
After I finish the read aloud, I might begin with an essential question, such as “How might we build a house for the Three Little Pigs that can stand on its own?”
I would explain, “Now we are going to use different materials to build prototypes of houses for the Three Little Pigs. Does anyone know what the word ‘prototype’ means?”
After we define “prototype,” I might say, “We will also be testing our houses to make sure they won’t get blown over by the Big Bad Wolf. We will be using a hair dryer to create the force of wind. Each of us will get a turn using the Big Bad Hair Dryer to see if our houses blow over.”
This is a great opportunity to talk to students about having a growth mindset. If their house blows over on the first try, how might they make changes to their prototype to help it stand on its own?
Prototype and Test Stages
Then, I would provide students with different maker materials to create their prototypes. Materials might include paper cups, cardboard, popsicle sticks, pipe cleaners, tape, and scissors. You can choose to limit students to only use certain materials, or you can give them many options – it is up to you!
I might give students about 30min to build their prototypes. Some students will finish quickly, and others might need more than 30min. For early finishers, consider having them draw their prototype on a piece of paper or in their notebook.
Then, you can begin having students “test” their designs with a hair dryer. Put the hair dryer on the lowest setting and see if the house blows over. If you would like, you can try on higher settings too.
If their prototype blows over, encourage students to make changes to their models.
Design Thinking Project Ideas for Kindergarten
If you are looking for additional Design Thinking ideas to use in your Kindergarten classroom, check out the ideas below:
Design Thinking Read Alouds for Kindergarten
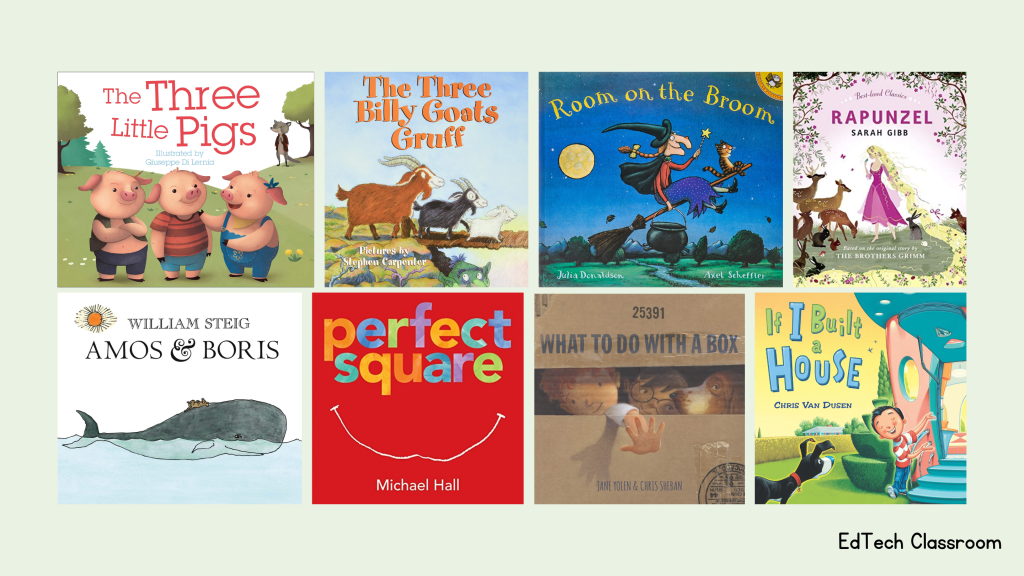
- The Three Little Pigs (Build a house for a pig)
- The Three Billy Goats Gruff (Build a bridge)
- Room on the Broom (Build a broom)
- Repunzel (Build a slide from a tower)
- Amos & Boris by William Steig (Build a boat)
- Perfect Square by Michael Hall (Make something from a square)
- What to Do with a Box by Jane Yolen and Chris Sheban (Make something from a box)
- If I Built a House by Chris Van Dusen (Design a house for you or a friend)
Additional Design Thinking Ideas
- Design a new species.
- Design a new playground.
- Design a treehouse.
- Design a home for an animal.
- Design a gift for a friend.
Thank You!
Thank you for reading this blog post about Design Thinking in the Kindergarten classroom. I’d love to hear from you! What other ideas do you have? Leave a comment down below, DM me on Instagram @edtechclass, or email me at myedtechclassroom@gmail.com.
Categories

One thought on “Design Thinking in the Kindergarten Classroom” Leave a comment ›