Design Thinking in the 5th Grade Classroom
Design Thinking is a five-step problem-solving approach that consists of: (1) empathizing, (2) defining, (3) ideating, (4) prototyping, and (5) testing.
In the 5th grade classroom, Design Thinking can be integrated into curriculum to help deepen students’ learning and understanding of core concepts and standards.

In today’s blog post, I’m going to share some tips for getting started with Design Thinking in 5th grade, followed by an in-depth project example. Lastly, I’ll share some additional project examples to spark some extra inspiration.
Getting Started with Design Thinking in 5th Grade
Tip #1: Create and Share Project Planners
Design Thinking works best in the 5th grade classroom when a project is highly organized and well-structured.
To do this, I like to create and share project planners with students, so they can track their progress throughout the Design Thinking process.
A project planner might consist of 5 different sections – one for each stage – where students document their thinking.
For example, in the “Ideate” section, students might draw 3-5 different ideas and then circle their top choice before moving onto “Prototype.”
A project planner helps hold students accountable, and also acts as a physical representation of their problem-solving. Plus, a project planner is useful for you to review as the teacher for grading and providing feedback.
Tip #2: Embed Curriculum Standards

With upper elementary students and older, I make sure my Design Thinking projects are standards-aligned.
Before I plan a project, I take a look at the learning goals and standards I’m covering for a specific unit or subject.
Then, I might pick a standard that lends itself nicely to problem-solving. If you use the Next Generation Science Standards, you might notice that there are many overlaps between Design Thinking and the Engineering Design Process.
Or, I might look at units or lessons that incorporate research and inquiry. In doing so, I might really hone in on the Empathize and Define stages of the Design Thinking process.
These are just a couple of ideas to help you get started, but my recommendation is to make sure you prioritize your learning goals and standards before you start planning a fun and engaging project.
Tip #3: Consider Extending the Timeline
Design Thinking can happen in short 60min “sprints,” where students complete all five stages in a short amount of time.
But Design Thinking can also happen over an extended timeline, allowing students to dig more deeply and lean into the process.
Design Thinking works really nicely with project-based learning, so instead of having students complete the entire process in one class period, consider extending a project over the course of several days or weeks.
For example, you could follow a timeline like this one:
- Monday: Empathize
- Tuesday: Define
- Wednesday: Ideate
- Thursday: Prototype
- Friday: Test
In the following section, I’ll be sharing an idea for a project that might be extended over the course of many weeks.
Design Thinking Project Example: Community Action Project
Now that we’ve covered some important tips for trying out Design Thinking with fourth grade, let’s take a look at an in-depth project example.
Our essential question is…
How might we help fix a pressing problem in our community?
For this project, I might extend our learning over the course of several weeks.
Empathize and Define
I might spend two days (or two class periods) on the Empathize and Define stages of this Design Thinking project.
Before we can begin building a solution, we need to learn more about our community and our school’s surrounding neighborhood.
We might start off our project with a conversation defining “community,” exploring what makes up a community – including the different stakeholders – as well as the needs that communities more broadly might have.
Next, we might explore our community through research.
To do this, students might interview residents and local business owners. Students might take a walk around the neighborhood to make observations. Students might even look up information online to research more about the history of our community.
Based on our research, we would then come up with 4-5 problems that our community faces. In Los Angeles, where I live, students might identify problems such as:
- Housing crisis and homelessness
- Air and water pollution
- Lack of sufficient public transportation
- Earthquake risk
I would then divide the class into 4-5 different groups based on these topics. Ideally, I would give students choice to explore the topics they are the most interested in, but if I notice a trend of students gravitating toward one or two problems, I might have them rank their choices.
Or, you could choose to assign students! It’s up to you.
Then, I would have students conduct even more research about their specific project topics (the problems they selected) to deepen their understanding.
Once students have collected enough information, I would have them come up with a “needs statement.” I might even write a sentence stem on the board:
“A problem in our community is ______. I know that this is a problem because ______.”
Or,
“Our community needs help with ________ (need) because (or ‘but…’ or ‘surprisingly…’) __________ (insight).”
Ideate
I might spend another two days (or two class periods) to focus on the Ideate stage of our project.
We would begin the Ideate stage by referring back to our needs statements. This is a crucial step that I would emphasize a number of times with students:
What problems have we identified? How might we brainstorm solutions to those problems?
Students would then spend a good amount of time brainstorming, or ideating. I like to have groups come up with at least 3-5 ideas on how to solve the problem they have identified.
In order to have students really spend their time with ideating, I might have them brainstorm their ideas by drawing detailed diagrams and labeling any important features. I would also regularly check-in with them and ask, “What problem have you identified? How do your ideas help solve that problem?”
Prototype
Before we can start the Prototype stage, students need to select their favorite idea. Remind students to choose the idea that best meets the needs they identified during the Define stage.
Once students have selected their favorite idea, task them with drawing a larger detailed diagram on a piece of 8.5x14in paper (if you have it). Students can make final adjustments and changes. Then, I like to have student ideas get approved by the teacher.
Next, students will begin prototyping.
Prototyping will look different with every group. Some groups might choose to build a solution. Some students might come up with an action plan to implement in their community.
The Prototype stage is where student projects will really start to differ based on the needs that students are attempting to address. Students might create:
- A model of an updated public space or park
- A model of a historical museum to teach people about the history of the neighborhood
- A blueprint of a community garden to help increase access to healthy vegetables
- A course syllabus on how to start a small business with a list of local business owners who are willing serve as mentors
The opportunities are endless, and as the teacher, you can help guide student groups to flesh out their project ideas.
Test
With the Community Action project, students have the potential to enact real meaningful change in the neighborhood.
To test their ideas, students might give presentations to a panel of local residents or elected officials. Or, students might share their ideas in a more casual format and ask for cool and warm feedback.
The Test stage of the Community Action project allows for authentic, real-world application of student learning.
Lastly, you can provide students with structured time to reflect on the entire Design Thinking process (not just their final products!).
Design Thinking Project Ideas for 5th Grade
If you are looking for additional Design Thinking ideas to use in your 5th grade classroom, check out the ideas below:
- Protect Our Oceans Project: Check out this project I shared in a 4th grade blog post!
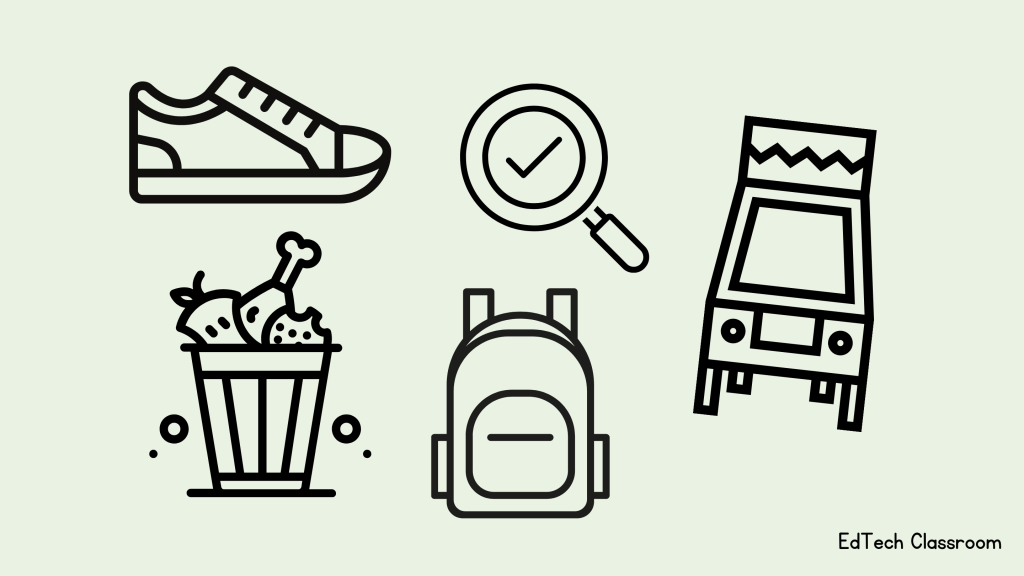
- School Lunchroom Redesign Project: How might we redesign the school lunchroom experience?
- The Backpack Project: How might we design a thoughtful and helpful backpack for a friend?
- Walk In Someone Else’s Shoes Project: How might we design a new pair of sneakers for a friend?
- Cardboard Arcade Project: How might we design a brand new cardboard arcade game?
- Food Waste Project: How might we design a new system to improve food waste at home or at school?
- Lost-And-Found Project: How might we improve the lost-and-found system at our school?
Thank You!
Thank you for reading this blog post about Design Thinking in the 5th grade classroom. I’d love to hear from you! What other ideas do you have? Leave a comment down below, DM me on Instagram @edtechclass, or email me at myedtechclassroom@gmail.com.
Categories
