Design Thinking Project Ideas for Elementary Classrooms and Back to School
To learn more about the design thinking process and how to implement this strategy in your elementary classroom, check out one of my other blog posts here.

Design thinking is an iterative, human-centered process that is most often used to solve a need or problem. Design thinking consists of 5 main stages: empathize, define, ideate, prototype, and test.
In today’s blog post, I’m sharing an in-depth example of a design thinking activity to try with your students for back-to-school.
I’ll walk you through step-by-step how to implement a design thinking project in your elementary classroom. You can teach this lesson tomorrow!
Then, I’ll also share a list of other project ideas that will help build community in your elementary classroom.
While I created this activity for the start of the school year, you can implement the project any time you’d like!
About the Backpack Project
The Backpack Project is inspired by the “Gift-Giving Project” and the “Wallet Project,” from the Stanford d.school. In the Backpack Project, students will have 90 minutes to design and build a backpack for a friend.
Our essential question for the Backpack Project is:
How can we design and build a helpful and thoughtful backpack for a friend?
If you want to learn how to implement the Gift-Giving Project in an elementary classroom, you can check out this blog post.

Stage 1: Empathize
About the Empathize Stage
The Empathize stage allows students to develop a deeper understanding of the problem or need we are addressing. In this instance, students will practice empathy to learn more about what their partner needs.
Before we can design a solution, we need to understand not only the problem or need, but also the people, their environment, and their role within that environment.
Teaching the Empathize Stage of the Backpack Project
For this first stage of the Backpack Project, students will interview their partners. I use the word “interview” to describe this process, but I also like to tell students that we are doing this activity to “get to know each other.”
For example, I might say something like, “The first stage of Design Thinking is called ‘Empathize.’ Does anyone know what the word ‘empathy’ means?”

I’d follow up this prompt with a discussion about “empathy.”
Once we have a class definition of ’empathy,’ we will then brainstorm strategies to get to know each other better and to empathize with each other. I will guide students to think about the concept of interviewing someone.
“To learn more about our friends, we are going to interview each other. We will interview them by asking questions to get to know them better. What does being a good interviewer look like?”

I would then model interviewing strategies for students, like notetaking, listening, and asking follow-up questions.
In addition to modeling, I also like to provide my elementary students with a list of questions they can ask their partners. I find it to be a helpful strategy for scaffolding this activity at the start of the school year.
Potential questions for students to ask their partners:
- Walk me through the contents of your backpack (or tote bag, etc.).
- Why do you have a particular item in your backpack?
- When do you carry your backpack?
- What do you primarily use your backpack for?
Students can spend about 5-10 minutes each interviewing their partners.
Stage 2: Define
About the Define Stage
The second stage of the design thinking process is: Define. During this stage, students develop a meaningful and actionable problem statement.
This problem statement is used to guide students to figure out what problem they are attempting to solve.
With elementary students, I’ve found that the Define stage can be tricky at first. This stage requires students to summarize and synthesize their learning from the Empathize stage.
Teaching the Define Stage of the Backpack Project
When I teach students how to “define” the problem or need during the Backpack Project, I explain that they might not have necessarily discovered a “problem” when they interviewed their partner. That’s okay!
I might say something like, “Did you find out any goals or wishes that your partner has? What did you learn? What did you notice?”
Once students have a better understanding of their conversations and are able to synthesize that information, we would spend a few minutes writing a needs statement.
I like to use a mad-libs style example to teach how to write a needs statement. I got this idea from the Stanford d.school!
“________ (partner name) needs a way to ________ (partner’s need) because (or ‘but…’ or ‘surprisingly…’) __________ (insight).”
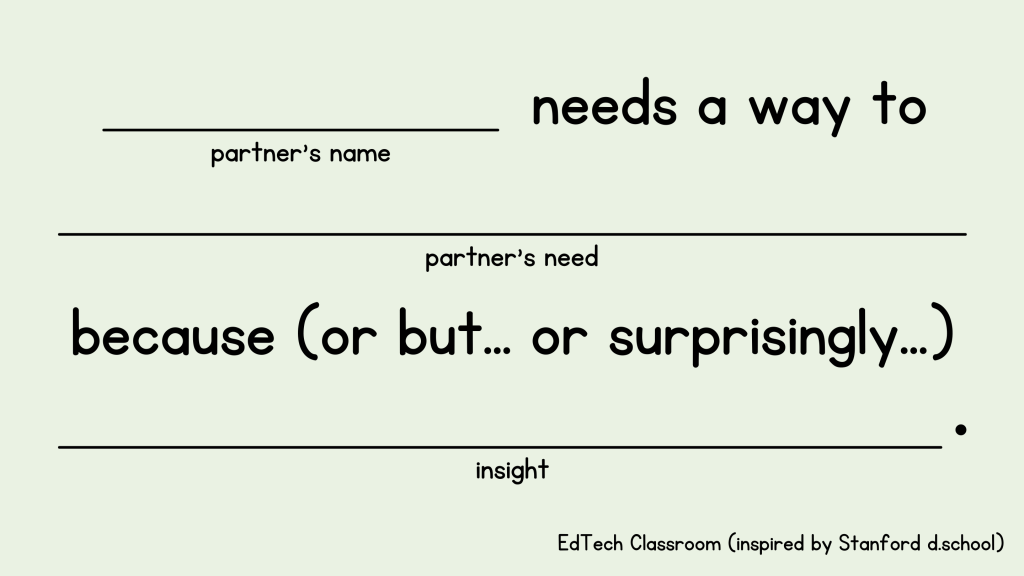
An example needs statement could be “Maddie needs a way to carry her books to class more easily because she loves to read but does not have enough space.”
Students only need to spend a couple of minutes completing the Define stage.
Stage 3: Ideate
About the Ideate Stage
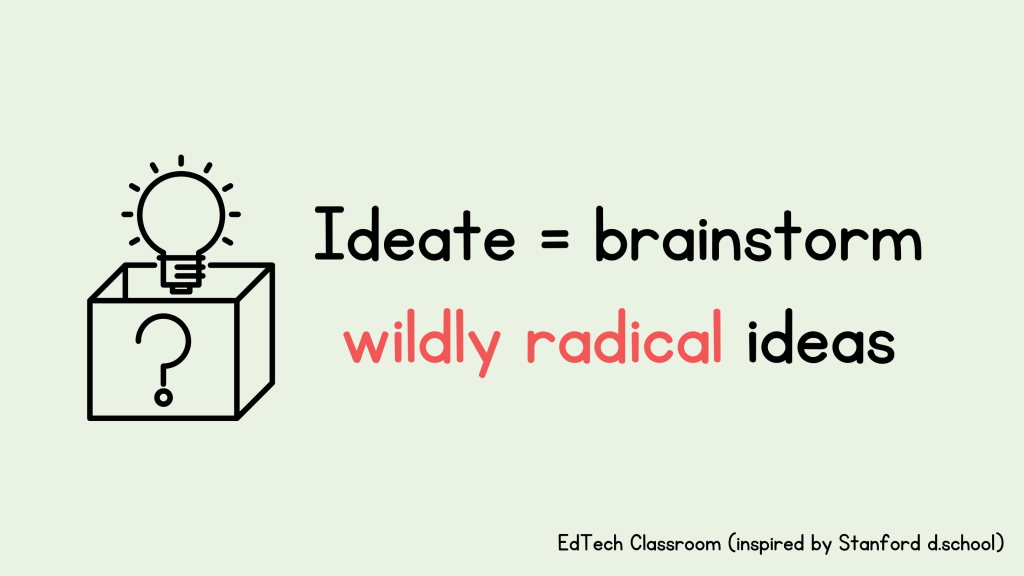
The next stage, Ideate, is all about brainstorming “wildly radical” ideas. These ideas are really meant to be “outside of the box.”
Specifically, students will brainstorm solutions / ideas related to the needs statement they defined in the previous stage.
Teaching the Ideate Stage of the Backpack Project
For the Ideate Stage, I provide students with another piece of paper divided into three sections.
I will ask students to label these sections as “Idea 1,” “Idea 2,” and “Idea 3.”
Students will then have time to brainstorm three wildly radical ideas. I encourage students to think big and outside the box. I also encourage them to refer back to their needs statement when they are brainstorming ideas.

Students have the choice to either draw or write their ideas.
Most of my students opt for drawing, but some students prefer to write out their thoughts.
Students can go through the Ideate Stage as quickly or as long as you’d like. I typically recommend doing this stage in about 7-10 minutes if you plan to complete the entire Design Thinking process in 60-90 minutes.
Once students have finished ideating, they will ask their partner for feedback. Students can use “I like…” and “I wonder…” statements to provide each other with feedback.
I typically model giving feedback so students understand expectations.
After receiving feedback, students will take a few minutes to update their designs.
Stage 4: Prototype
About the Prototype Stage
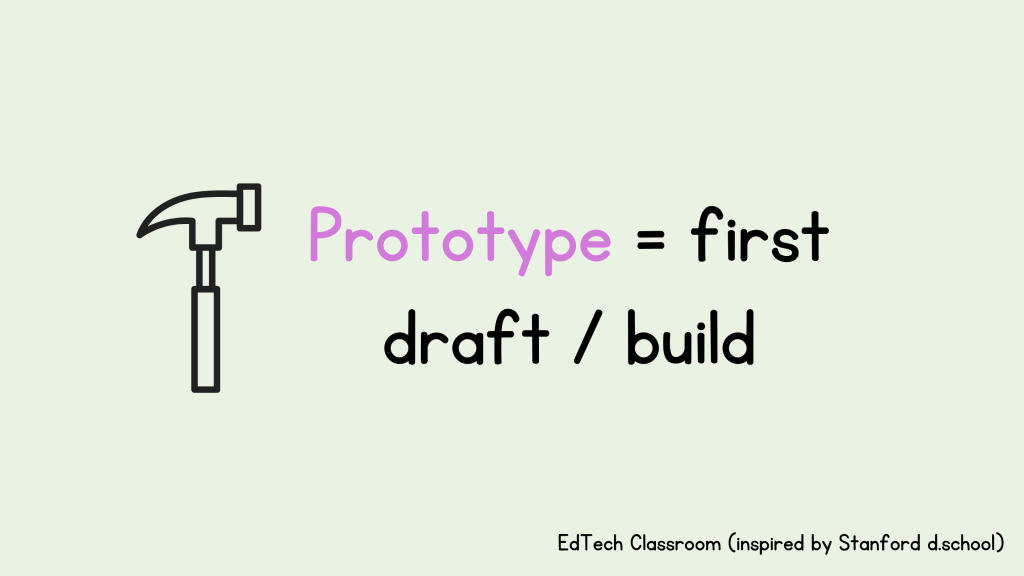
During the Prototype stage, students begin building their ideas. This stage focuses on building the best solution for the problem or need. I define the word “prototype” to students by explaining that it is a first draft.
Students will take their designs from the Ideate Stage and build a model of one of those ideas during the Prototype Stage.
Teaching the Prototype Stage of the Backpack Project
Prototyping is often a big hit with students! This stage is a great opportunity for hands-on learning and building.
P
In my classroom, I typically provide students with recyclable materials (think: cereal boxes, paper towel tubes, plastic water bottles) to build their prototypes.
In the Backpack Project, students would spend about 15 minutes building prototypes of their backpacks.
There isn’t too much teaching required with this stage – set up guidelines and expectations around materials, noise level, etc. and you’re good to go!
Stage 5: Test
About the Test Stage
The Test stage is all about getting feedback from your user and checking to see if your prototype “works.” Students can “test” their prototypes in a variety of ways, such as checking to see if it functions properly.
Teaching the Test Stage of the Backpack Project
When a project asks students to design a prototype for another person, I typically have students “test” out their creations by getting feedback from that person.
In the Backpack Project, students would show their prototypes to their partners, and get feedback and additional ideas on how to improve their designs.
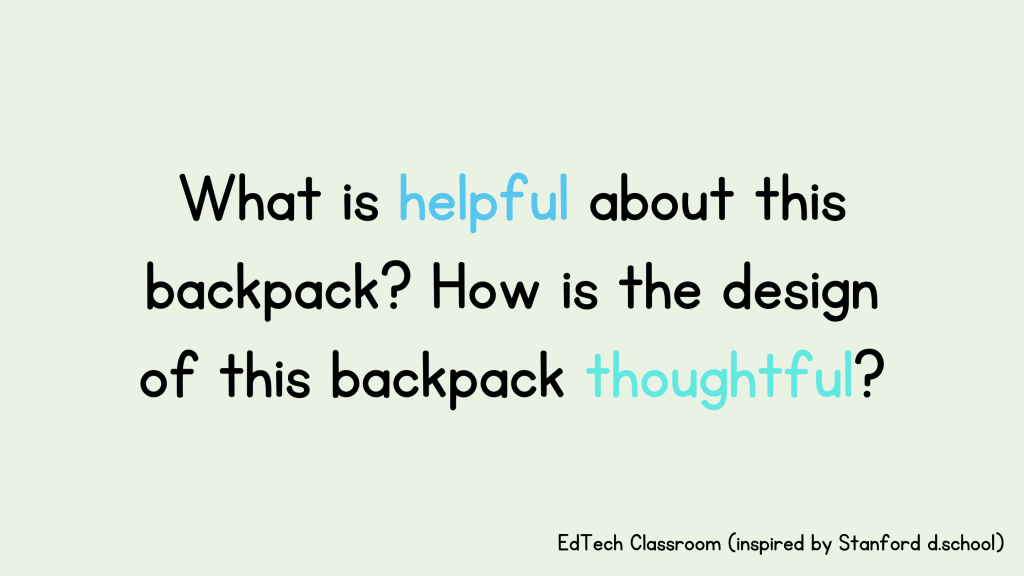
What does their partner like about their backpack? What is helpful about this backpack? How is the design of this backpack thoughtful?
I remind students to use “I like…” and “I wonder…” feedback when checking in with their partners.
You can also have students spend some time reflecting on the Design Thinking process as a way to wrap up this activity.
Additional Design Thinking Project Ideas
The Backpack Project was the focus of this blog post, but it is one of many examples of back-to-school design thinking projects you can try with your elementary students!
I created this list of project ideas to try out with your elementary students at the start of the school year (and beyond!):
- Design a lunchbox for a friend
- Design an ideal classroom for a friend
- Design or improve a classroom system
- Invent a sport for a friend
- Invent a new class at your school based on your friend’s interests
Thank You!
I hope you enjoyed this blog post all about implementing design thinking in the elementary classroom. These ideas are great for back-to-school, as well as throughout the school year! I’d love to hear your thoughts on this post. You can email me at myedtechclassroom@gmail.com, DM me on Instagram @edtechclass, or leave a comment down below.
Additional Resources
In doing research for this blog post / podcast, I found inspiration from the following resources:
Categories

3 thoughts on “Design Thinking Project Ideas for Elementary Classrooms and Back to School” Leave a comment ›