How Teachers Can Organize Google Drive this Summer

If you have been teaching remotely, chances are you’ve been using Google Drive a lot lately, and if you’re anything like me, it can sometimes be hard to stay organized.
I’m going to provide you all with some tips on how teachers can organize their Google Drives this summer.
1. Create a folder system
I like to keep the home page of my Google Drive organized by creating a folder system. Usually my items fall into 6-8 main categories, which I create folders for.
I’m going to show you my method for organizing and creating a folder system.
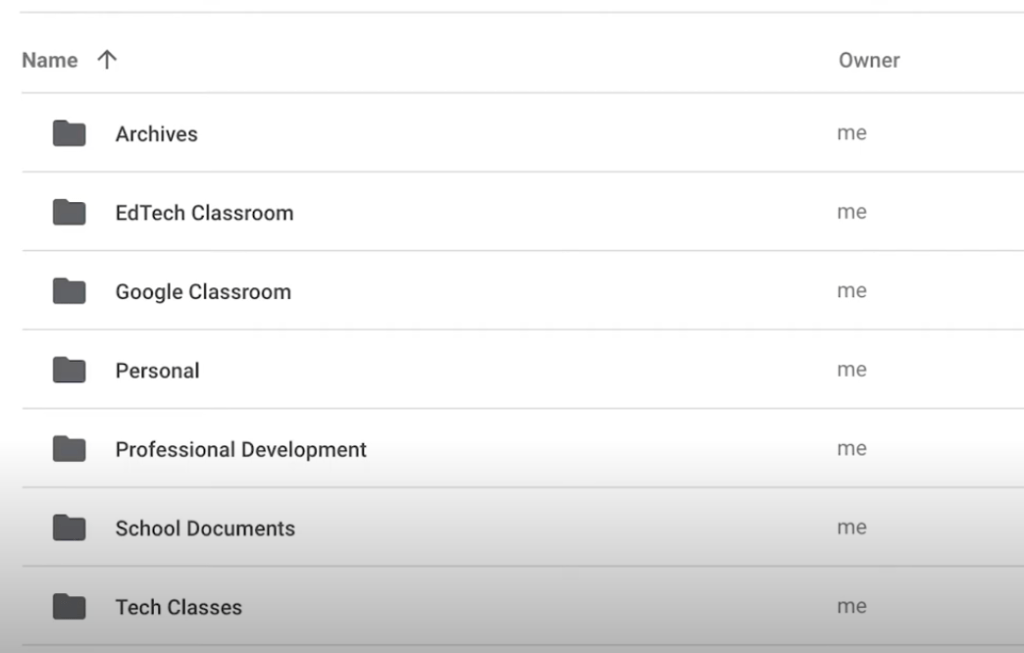
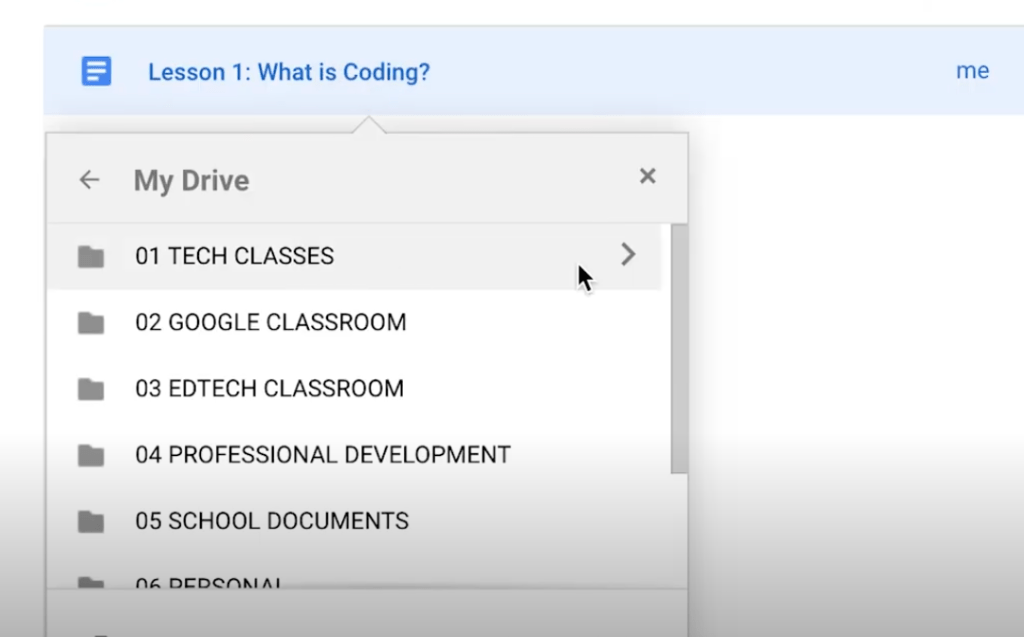
In the image below, you will see my main folders in my Google Drive.
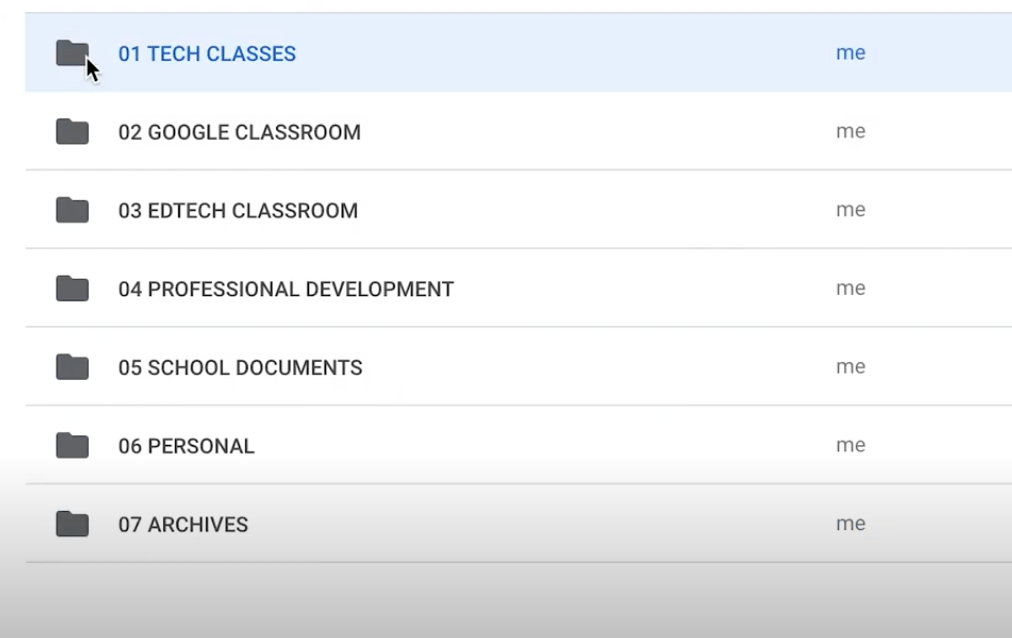
Because I use my “Tech Classes” folder the most, I am going to rename this “01 TECH CLASSES” so that it’ll be pushed to the top.
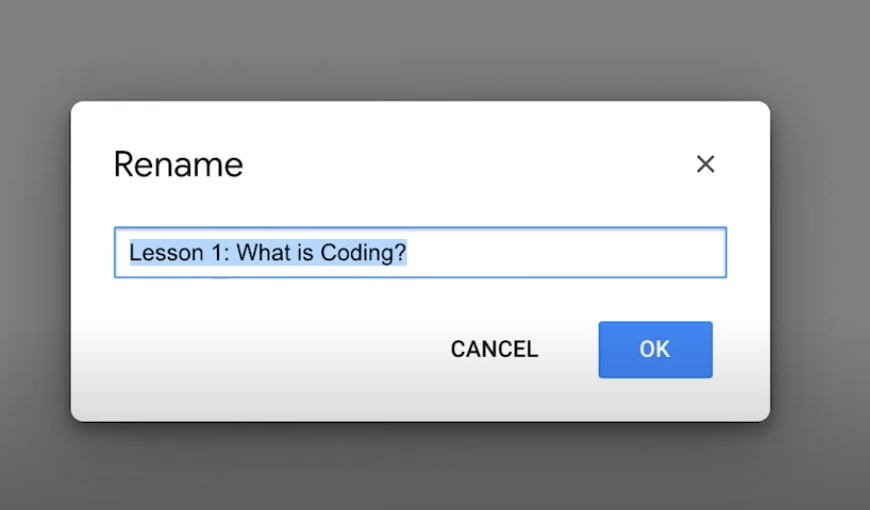
To rename your folder, right-click and press “rename.”
Next, I’ll change Google Classroom to “02 GOOGLE CLASSROOM,” and so on. You’ll see my ordered and renamed folders in the image below.
Now, I’ll go through and change the folders to have rainbow colors. You don’t have to use rainbow colors, but I think color-coding your drive is a nice (and helpful) touch.
To do this, I right-click on each folder. Then, I click “change color” and select the color I’d like the folder to be.
You can see the rainbow folders in the image below.

2. Creating a naming system
In the image below, you’ll see that we are now inside my “01 TECH CLASSES” folder. Because we are inside this main folder (which is red), all the sub-folders (i.e. the folders in the image below) are also color-coded red.
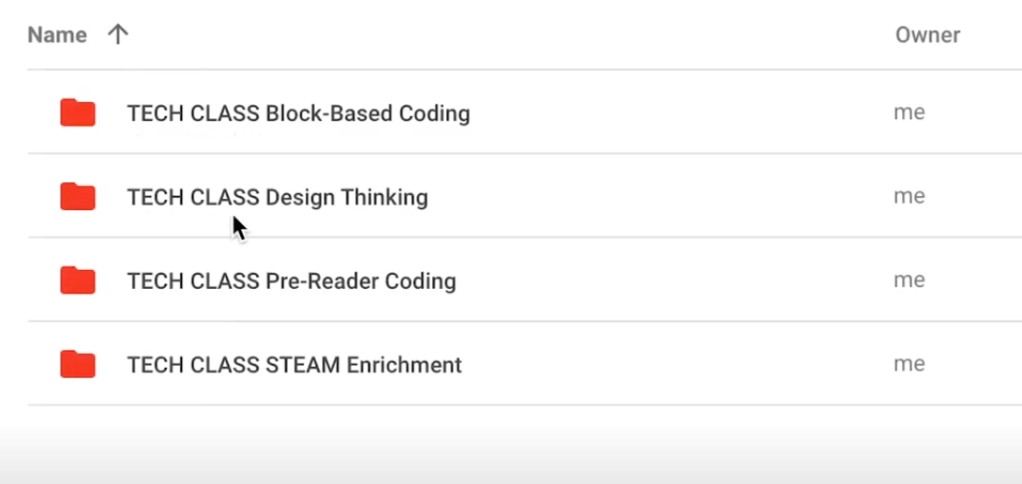
To organize these folders, I’ve created a specific naming system. You’ll notice that each folder says “TECH CLASS” in all caps followed by the name of the actual course.
For example, “TECH CLASS Pre-Reader Coding” is a folder that contains all the materials for a tech course I teach on pre-reader coding. Make sense?
Let’s take a look inside one of these sub-folders.
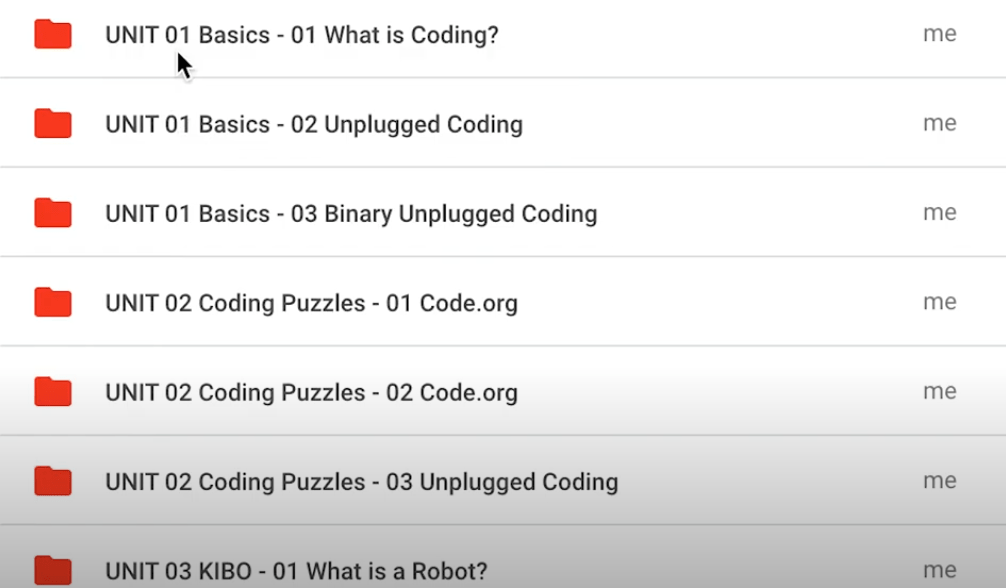
When I teach this course, I lay out my lessons to fall into three main units: (1) Basics, (2) Coding Puzzles, and (3) KIBO (robotics).
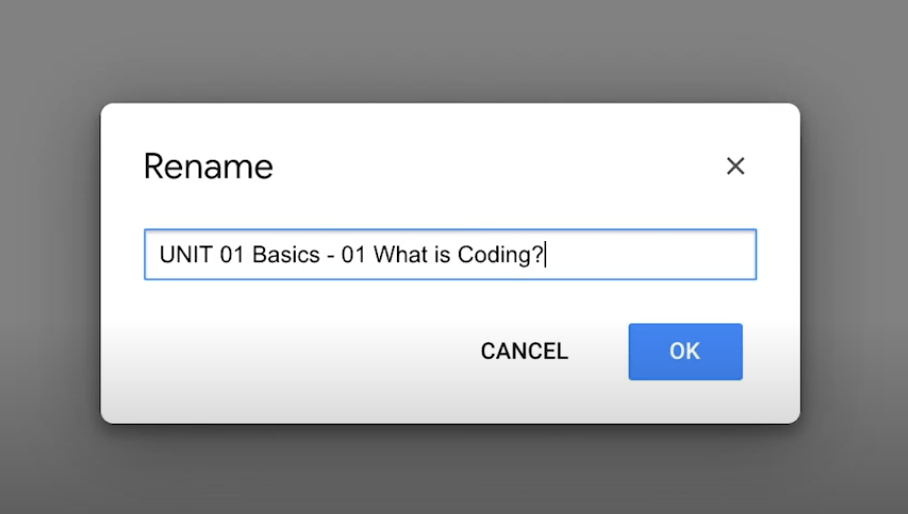
For example, “Unit 01 Basics – 01 What is Coding?” is a folder that I’ve created for a specific class period.
“Unit 01 Basics” is the name of the unit.
“01 What is Coding?” represents the lesson number (1, or the first class period) and the lesson name (What is coding?).
This naming system works really well for me, but if there’s a different system that works for you, go for it!
I just ultimately recommend you use a naming system so you don’t end up having dozens of files that are difficult to find.
3. Rename and move files as needed
Once you’ve created your folders, you might need to start moving files. What’s the point of having all these beautiful folders if the files aren’t inside them?
To move a file into a specific folder, right click on the file, click “move to,” and then select the corresponding folder.
Let’s take a look at an example below.
Once you actually move the file, you’ll want to rename it to match your naming system from the previous section.
This file is in UNIT 01 of my pre-reader coding class. So I’ll title the file, “UNIT 01 Basics” (because that’s the name of the unit).
Then, I’ll add “01” because this is the first lesson in my pre-reader coding class.
And then lastly, I’ll add the lesson name, “What is coding?”
Now, the complete file name is “UNIT 01 Pre-Reader Coding – 01 What is coding?”
Thank you so much for tuning into this week’s tech tip! I hope you learned some ideas for how teachers can organize their Google Drives this summer.
Have any questions? Email me at myedtechclassroom@gmail.com and I’d love to help you out.
See you back next week!
Categories
